
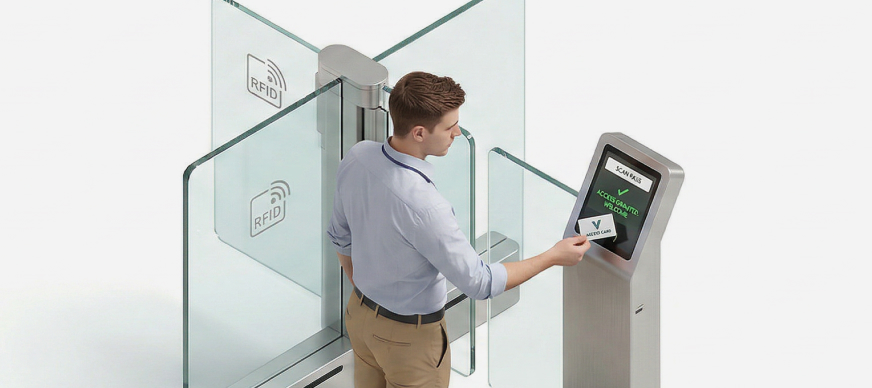
You have the ability to approve or reject entry requests for users visiting your campus. Once an entry is approved, the system automatically generates a unique passcode for the visitor. This passcode is required during check-in and serves as a secure method to grant access. Even if an entry request was initially rejected, it can be later approved if needed.
Approving Entry
- On the Dashboard screen, tap Entry Management.
The Entry Management screen with a list of previous entries is displayed. - Tap the Issue or Approve tab.
A list of entries is displayed. - Filter and tap the required entry.
OR
Scroll and tap the required entry.
The entry details are displayed. - Enter a remark, if required.
- Tap Accept.
A confirmation message to approve the entry is displayed. - Tap Approve.
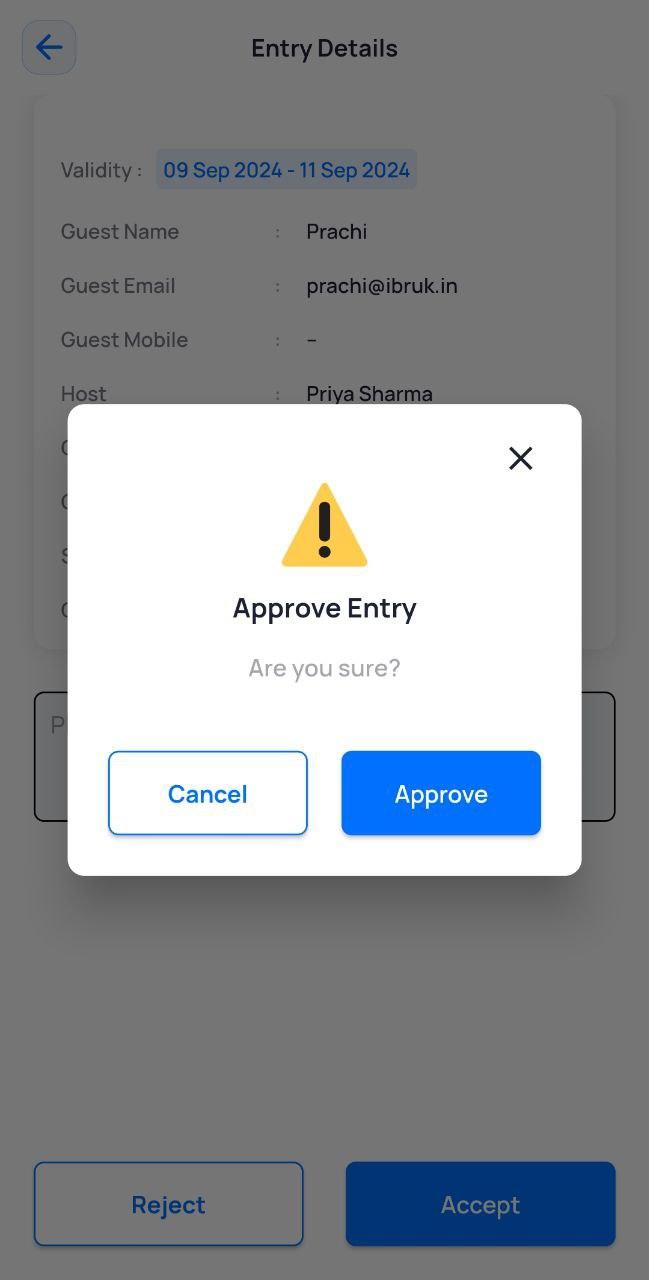
- Tap OK to confirm the approval.
- To reject an initially approved entry, click here.
Rejecting Entry
- On the Dashboard screen, tap Entry Management.
The Entry Management screen with a list of previous entries is displayed. - Tap the Issue or Approve tab.
A list of entries is displayed. - Filter and tap the required entry.
OR
Scroll and tap the required entry.
The entry details are displayed. - Enter a remark, if required.
- Tap Reject.
A confirmation message to reject the entry is displayed. - Tap Reject.
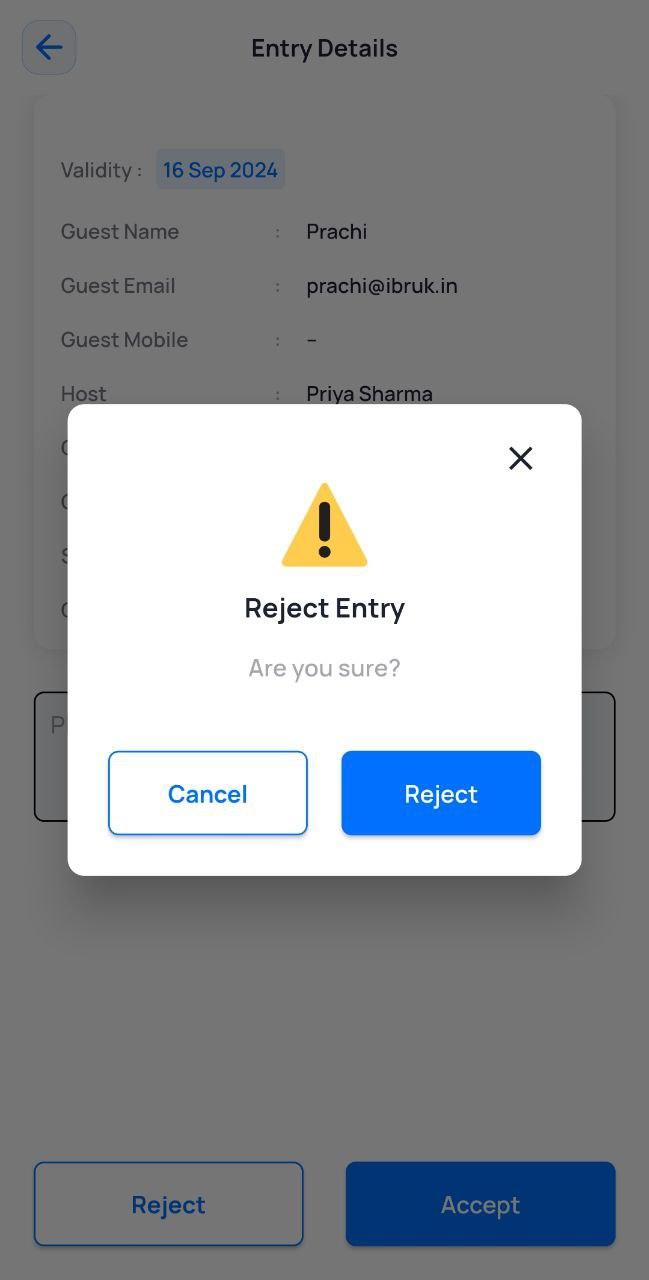
- Tap OK to confirm the rejection.
- To accept an initially rejected entry, click here.