
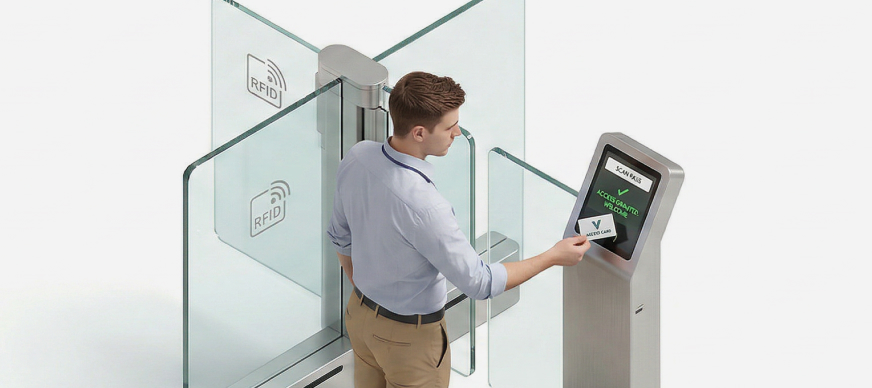
You can issue entry passes for two types of users:
- Existing Users: These are current employees of your organization who may require access to specific locations or campuses.
- Guest Users: These are new visitors, such as contractors, clients, or external personnel, who need temporary access to the premises.
Issuing Entry for Existing Users
- On the Dashboard screen, tap Entry Management.
The Entry Management screen with a list of previous entries is displayed. - Tap the Issue or Approve tab.
- Tap Issue Entry.
The Issue or Approve screen with the Existing User option select by default is displayed.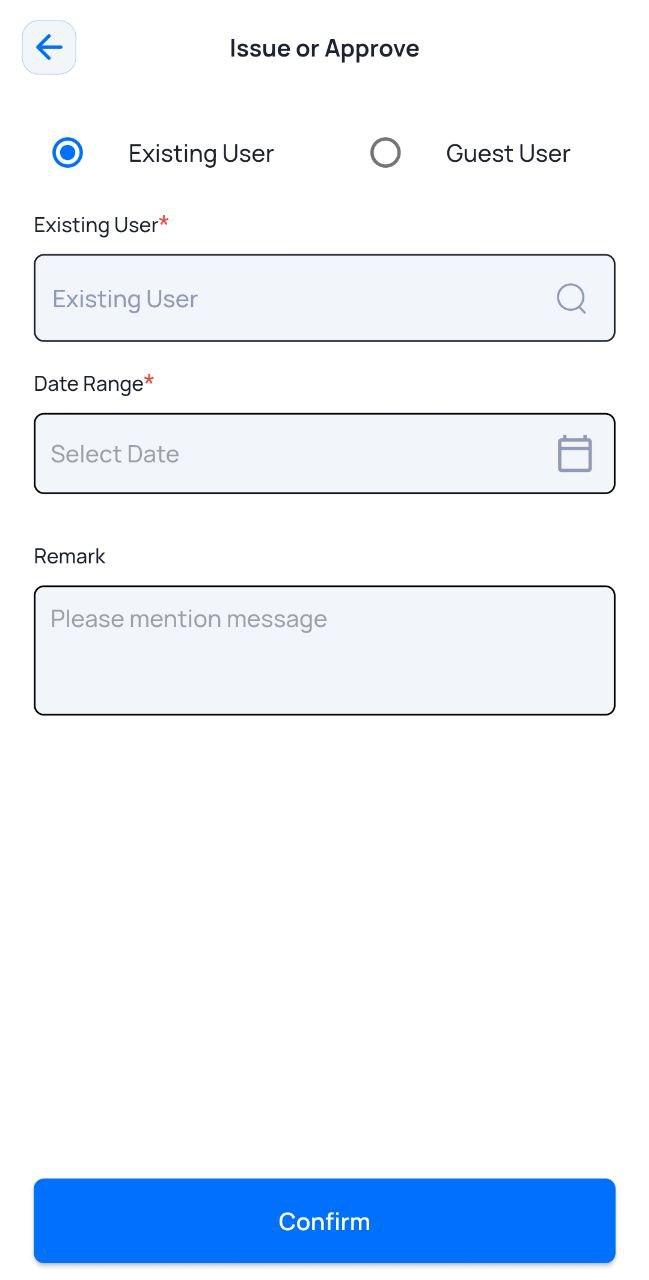
- Enter or select the required field information.
Field Description Existing User*
Enter the name of the employee for whom you are issuing/approving entry.
Date Range*
Select the date(s) for which you are issuing/approving entry.
Remark
Enter a remark, if required.
- Tap Confirm.
The confirmation message of the new entry issued successfully is displayed. - Tap OK.
Issuing Entry for Guest Users
- On the Dashboard screen, tap Entry Management.
The Entry Management screen with a list of previous entries is displayed. - Tap the Issue or Approve tab.
- Tap Issue Entry.
The Issue or Approve screen is displayed. - Select the Guest User option.
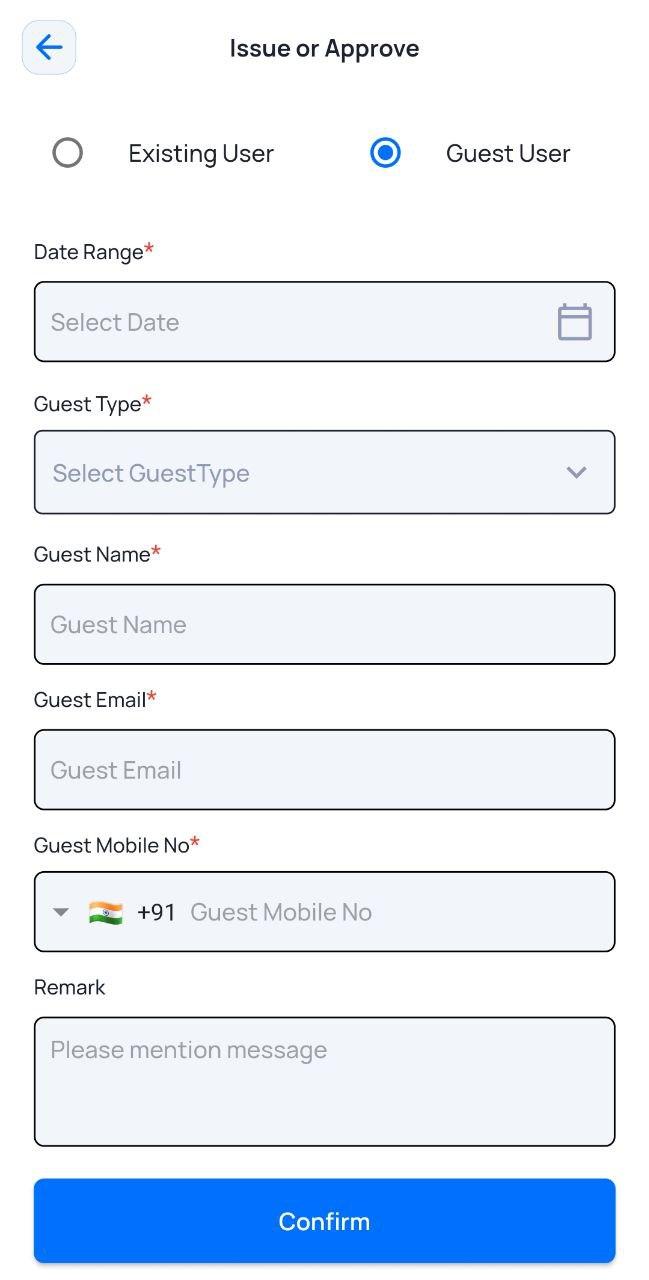
- Enter or select the required field information.
Field Description Date Range*
Select the date(s) for which you are issuing/approving entry.
Guest Type
Select the type of guest visiting the campus. For example, vendor.
Guest Name*
Enter the name of the guest.
Guest Email
Enter the email ID of the guest.
Guest Mobile No.
Enter the mobile number of the guest.
Remark
Enter a remark, if required.
- Tap Confirm.
The confirmation message of the new entry issued successfully is displayed. - Tap OK.
The entry of the guest user is approved by default. - To reject the entry, under the Issue or Approve tab, open the entry details and tap Reject.
A confirmation message to reject the entry is displayed. - Tap Reject.
- Tap OK to confirm the rejection.