
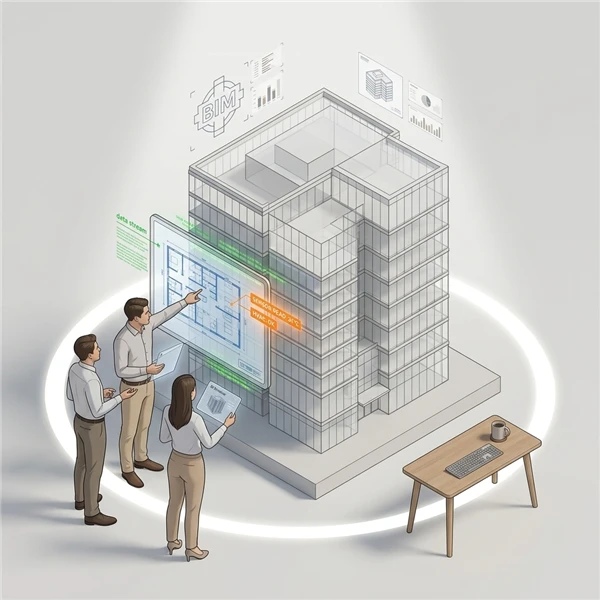
In this section, you will learn how to:
You can configure animations within your digital twin to play automatically when the model is loaded or viewed. These animations can be applied to specific components of the model and can also be set to run in screensaver mode when the digital twin is idle.
Animations can also be designed to provide an intuitive overview of the entire model. For example, an animation might begin with a wide-angle view of the complete structure and then gradually zoom into specific sections—such as floors, rooms, or equipment zones—highlighting key areas of interest within the building or facility.
Creating a Digital Twin Animation
- In the Main Menu, under the ADMIN OPTIONS, in the Digital Twin subsection, click Animations.
The Animations page opens in a new browser tab. - In the Select Digital Twin pop-up, select the digital twin to be displayed and click Select.
- In the Select Model pop-up, select the digital twin model to be displayed for the digital twin and click Select.
- Select the mode in which the digital twin model should be loaded:
- Online: The .xkt file is fetched from the server.
- Offline: The .xkt file can be uploaded from your computer.
The digital twin model is displayed.
- To add an animation, in the Select Animation dropdown, click the
 icon.
- In the Animation Details pane, enter or select the following information:
Field
Description
Name*
Enter a name for the animation.
Speed*
Select the speed at which the animation plays. The time selected here defines how long the animation takes to move from one frame to the next. The range of speed is between 0.01 and 9.99, with 0.01 being the slowest speed.
Active
Select this checkbox to make the animation active.
- Zoom in on the digital twin model to the exact position where the animation should begin.
- In the left pane, click Capture.
This view is saved as Frame 1. - Adjust the model to the next position for the animation sequence.
- In the left pane, click Capture.
This view is saved as Frame 2. - Repeat steps 9 and 10 until all the frames for the animation are captured.
Note: An animation must have a minimum of 3 frames to function.
- To play the animation, click the
 icon.
- To stop the animation, click the
 icon.
- Click Save.
The animation is saved.
Modifying the Animation Sequence
After generating the animation sequence and initiating playback, you may observe that some elements are not transitioning as intended. To correct this, you can adjust the sequence by reordering frames, setting specific frames as inactive, or permanently deleting unnecessary frames. These editing capabilities allow for precise control over the animation flow to ensure it aligns with the intended behavior.
- In the Main Menu, under the ADMIN OPTIONS, in the Digital Twin subsection, click Animations.
The Animations page opens in a new browser tab. - In the Select Digital Twin pop-up, select the digital twin to be displayed and click Select.
- In the Select Model pop-up, select the digital twin model to be displayed for the digital twin and click Select.
- Select the mode in which the digital twin model should be loaded:
- Online: The .xkt file is fetched from the server.
- Offline: The .xkt file can be uploaded from your computer.
The digital twin model is displayed.
- In the Select Animation dropdown, click the
 icon next to the animation to be modified.
- In the Animation Details pane, to move the order of the frames, hold and drag them up or down as required.
- To delete a frame, click the delete
 icon.
- To mark a frame as inactive, click the
 icon.
Note: Marking a frame as inactive, does not delete it. The animation only skips the inactive frame and moves on to the next one.
- To mark an inactive frame active, click the
 icon.
The frame will now be included in the animation.
Viewing the Digital Twin Animation
- In the Main Menu, under the ADMIN OPTIONS, in the Digital Twin subsection, click Digital Twin.
The Digital Twin page is displayed. - Under the Action column, click Load for the digital twin whose animation is to be viewed.
A new browser tab opens displaying the default view of the digital twin, if configured. If not, the tab displays an empty screen except for the toolbar and menu options in the left pane. - If an empty screen is displayed, select a view from the existing options in the Select View dropdown. For more information on configuring views, refer to Configuring Digital Twin Model Views.
- In the Select Model pop-up, select how you want to load the model:
- Online: The .xkt file is fetched from the server.
- Offline: The .xkt file can be uploaded from your computer.
The digital twin model is displayed.
- To view the animation, in the left pane, click the
 icon.
- Select the animation to be viewed.
The animation starts playing on the screen. The playback control bar is also displayed at the bottom of the screen allowing you the following options:Option
Description
 /

Allows you to pause/play the animation.
 /

Allows you to go to the next/previous animation, if available.

Allows you to play the animation from the start.

Allows you to play the animation in a loop.