
In this section, you will learn how to:
Configuring Basic Settings
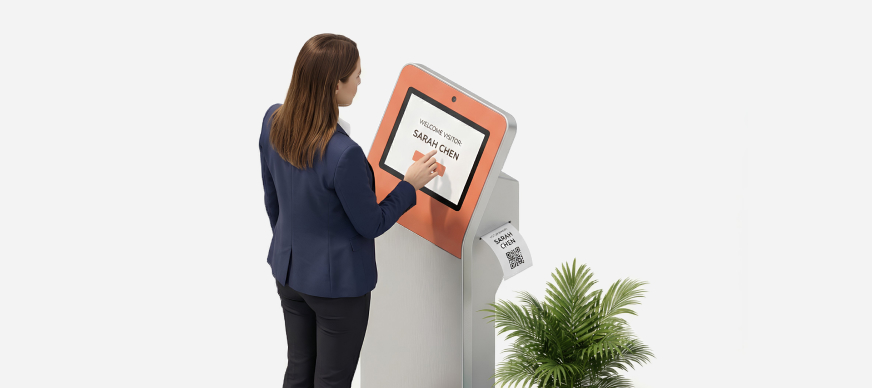
Basic settings allow you to define the elements of various visitor check-in process, such as the type of visitor pass issued, the mode of visitor check-in, and the inclusion of consent forms, disclaimers, and so on.
To configure basic settings:
- In the Main Menu, under the ADMIN OPTIONS, in the Visitor subsection, click Settings.
The VMS Settings page is displayed. - In the left pane, enter or select the required field information.
|
Field |
Description |
|
Visitor Pass Template |
Select whether the visitor pass should be printed in a horizontal or vertical orientation. |
|
Allows Visitor Kiosk OTP |
Select this checkbox to allow visitors to receive an OTP for checking in at the kiosk. |
|
Allow Visitor Kiosk Dynamic QR Code |
Select this checkbox to allow visitors check-in by scanning the dynamic QR code generated at the kiosk. |
|
Kiosk Disable Email Suggestion |
Select this checkbox to disable suggestions for email IDs when the visitor is typing the host’s email address at the time of raising the visit request. It is recommended to keep this checkbox selected, for privacy purposes. |
| Host Location Restriction |
Select this checkbox to ensure that visitors can only select a host from the same location they are visiting. The application verifies and confirms that the host selected by the visitor is in the current location. For example, if a visitor is visiting the Pune office, they can only select a host based in the Pune office in the visitor request. |
|
Select Users to Notify on Visitor Checkin (if carrying devices) |
Select the user(s) to be notified when a visitor carrying devices checks in. |
|
Allow Quick Invite |
Select this checkbox to display the Quick Invite option in the Apptimus mobile app. This option allows you to quickly send a visitor invite with minimal details. |
|
Quick Invite Default Title |
Enter the default title for the invite. For example: Meeting Note: The title can be modified when creating the invite. |
|
Quick Invite Default Purpose |
Enter the default purpose for the invite. For example: Meeting Note: The purpose can be modified when creating the invite. |
|
Quick Checkin Notification Email To |
Enter the email address(es) of the user(s) to whom the Quick Checkin notification email should be sent. Note: This option is used when the admin uses the Quick Checkins option. |
|
Quick Checkin Notification Email CC |
Enter the email address(es) of the user(s) who should be copied in the Quick Checkin notification email. Note: This option is used when the admin uses the Quick Checkins option. |
|
Visitor Consent |
Select the visitor consent template to be displayed when the visitor logs into the mobile app or kiosk. |
|
Visitor Disclaimer |
Enter the customized disclaimer to be displayed on the kiosk. |
Configuring On-Premise Visitor Alerts
You can configure visitor alerts to be sent when checked-in visitor(s) have not checked out after a specified duration. You can set the duration threshold and designate the recipients of these alerts to timely monitor and take required actions in case of an extended visit(s). These alerts are generated at two levels and ensure that visitors do not remain on the premises longer than expected duration.
To configure on-premise visitor alerts:
- In the Main Menu, under the ADMIN OPTIONS, in the Visitor subsection, click Settings.
The VMS Settings page is displayed. - In the left pane, under On-Premise Visitor Alerts, for FIRST LEVEL ALERT, enter or select the required information.
Field Description Since Check-in Time (in minutes)*
Enter the threshold duration (in minutes) after the check-in time for the first level alert to be triggered in case the visitor has not yet checked out.
Mobile Number
Enter the mobile number to which the alert should be sent.
Note: This format should be country code followed by the 10-digit number.
Email To
Enter the email address(es) to which the alert notification email should be sent.
Email CC
Enter the email address(es) to be copied for sending the alert notification email.
Note: This field is enabled only when you enter an email address in the Email To field.
- Enter or select the required field information for the SECOND LEVEL ALERT.
For field descriptions, see step 1. - Click Save.