
In this section, you will learn how to:
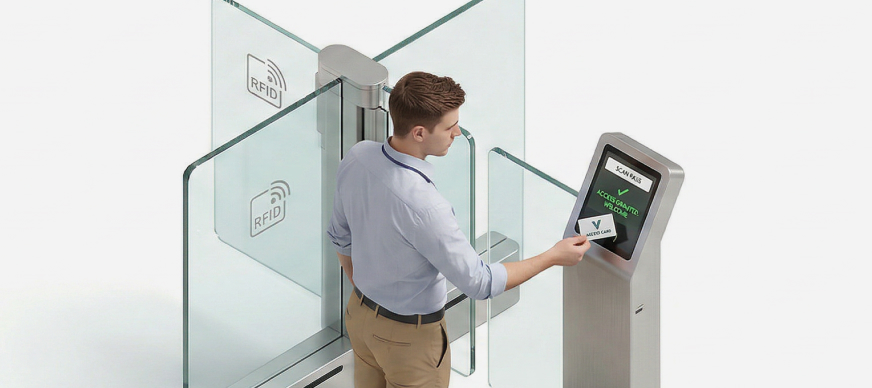
Entry Management is a system designed to grant temporary access for multiple entry and exits to users who do not have a valid ID for the specific location or campus. These users could include employees from different cities or campuses within the organization, contractors, consultants, or vendors who frequently visit the site for a limited period. It also caters to employees who may have forgotten their ID cards. This system ensures a smooth and secure entry process for all such users, minimizing disruptions and avoiding the need for repetitive visitor registration or manual entry procedures.
Viewing Entry Requests
The Entry Management module provides a centralized view of all past, current, and upcoming entry requests, as well as entries that you have issued, approved, or rejected. It allows you to filter entry requests based on their status and date. You can also apply filters for entries that you issued, approved, or rejected.
On the home page, in the left navigation pane, click Entry Management.
OR
Click the Entry Management card in the center of the home page.
The Entry Management page with the My Entries tab open by default is displayed, with the following information:
Field | Description |
|---|---|
Pass ID | Displays the system generated pass ID for the entry request. |
Guest Name | Displays the name of the guest requesting the entry. |
Host | Displays the name of the host who will approve/reject the entry request. |
Valid From | Displays the date from which the entry request is valid. |
Valid Upto | Displays the date until which the entry request is valid. |
Status | Displays the status of the entry request. |
Action | Allows you to cancel the entry request. |
Filtering Entry Requests
You can either enter keywords in the search bar to search for entry requests or use filters to locate specific entry requests.
On the home page, in the left navigation pane, click Entry Management.
OR
Click the Entry Management card in the center of the home page.
The Entry Management page is displayed with the My Entries tab open by default.To filter entry requests, in the search bar, click the

icon.
The Filter pop-is displayed with the Status tab selected by default.Select the required status to filter the entry requests by their status and then click Apply.
To filter entry requests by date, in the Filter pop-up, click Date, select the required option, and then click Apply.
The results are displayed as per the selected filter parameters and the selected filter parameter is also displayed.To reset all filter parameters, in the Filter pop-up, click Clear
OR
To remove a specific filter parameter, click the
icon next to the filter parameter displayed under the search bar.
Filtering Issued or Approved Entries
You can either enter keywords in the search bar to search for issued, approved or rejected entries or use filters to locate specific entries.
On the home page, in the left navigation pane, click Entry Management.
OR
Click the Entry Management card in the center of the home page.
The Entry Management page is displayed with the My Entries tab open by default.Click the Issue or Approve tab.
To filter entry requests, in the search bar, click the
icon.
The Filter pop-is displayed with the Status tab selected by default.Select the required status to filter the entry requests by their status and then click Apply.
To filter entry requests by date, in the Filter pop-up, click Date, select the required option, and then click Apply.
To filter entries by user, in the Filter pop-up, click Search, enter the name of the user, and click Apply.
The results are displayed as per the selected filter parameters and the selected filter parameter is also displayed.To reset all filter parameters, in the Filter pop-up, click Clear
OR
To remove a specific filter parameter, click theicon next to the filter parameter displayed under the search bar.
Requesting Entry
This feature serves as a checkpoint for security personnel to efficiently manage entry and exit. This includes raising new requests for entry into a specific office campus or approving/rejecting entry requests raised for host’s approval. Once an entry is approved, the system automatically generates a unique passcode for the visitor. This passcode is required during check-in and serves as a secure method to grant access.
To request entry:
On the home page, in the left navigation pane, click Entry Management.
OR
Click the Entry Management card in the center of the home page.
The Entry Management page is displayed with the My Entries tab open by default.Click Request Entry.
The Request Entry page is displayed.Enter or select the required field information.
Field
Description
Host*
Enter the name of the host who will approve/reject your entry request.
Date Range*
Select the date(s) for which you are requesting entry.
Remarks
Enter a remark, if required.
Click Confirm.
The confirmation message of the new entry request is displayed.Click OK.
This status is marked as Pending Approval by Host. Once the host either accepts or rejects the request, the status is updated accordingly.
Issuing Entry
You can issue entry passes for two types of users:
Existing Users: These are current employees of your organization who may require access to specific locations or campuses.
Guest Users: These are new visitors, such as contractors, clients, or external personnel, who need temporary access to the premises.
Issuing Entry for Existing Users
On the home page, in the left navigation pane, click Entry Management.
OR
Click the Entry Management card in the center of the home page.
The Entry Management page is displayed with the My Entries tab open by default.Click the Issue or Approve tab.
Click Issue Entry.
The Issue or Approve page with the Existing User option selected by default is displayed.Enter or select the required field information.
Field
Description
Existing User*
Enter the name of the employee for whom you are issuing entry.
Date Range*
Select the date(s) for which you are issuing entry.
Remark
Enter a remark, if required.
Click Confirm.
The confirmation message of the new entry issued successfully is displayed.Click OK.
The entry is approved by default and is displayed on the Entry Management page under the Issue or Approve tab. For steps on rejecting this approved entry, click here.
Issuing Entry for Guest Users
Note: This feature is available only if enabled by the admin.
On the home page, in the left navigation pane, click Entry Management.
OR
Click the Entry Management card in the center of the home page.
The Entry Management page is displayed with the My Entries tab open by default.Click the Issue or Approve tab.
Click Issue Entry.
The Issue or Approve page is displayed.Select the Guest User option.
Enter or select the required field information.
Field
Description
Date Range*
Select the date(s) for which you are issuing entry.
Guest Type*
Select the type of guest visiting the campus. For example, vendor.
Guest Name*
Enter the name of the guest.
Guest Email*
Enter the email ID of the guest.
Guest Mobile No.*
Enter the mobile number of the guest.
Remarks
Enter remarks, if required.
Click Confirm.
The confirmation message of the new entry issued successfully is displayed.Click OK.
The entry is approved by default (or sent for further approval as per the configured settings) and is displayed on the Entry Management page under the Issue or Approve tab. For steps on rejecting this approved entry, click here.
Approving or Rejecting Entries
The host has the ability to approve or reject entry requests for users visiting the facility. Once an entry is approved, the system automatically generates a unique passcode for the visitor. This passcode is required during check-in and serves as a secure method to grant access. Even if an entry request was initially rejected, it can be later approved if needed. Similarly, an entry approved by default, can be rejected later.
Approving Entry
On the home page, in the left navigation pane, click Entry Management.
OR
Click the Entry Management card in the center of the home page.
The Entry Management page is displayed with the My Entries tab open by default.Click the Issue or Approve tab.
A list of entries is displayed.To approve the entry, under the Action column, click the

icon.
The Entry Details pop-up is displayed.Click Accept.
In the confirmation pop-up that is displayed, click Accept again.
Click Ok.
The entry is approved (or sent for further approval as per the configured settings) and its status is updated as Approved on the Entry Management page, under the Issue or Approve tab.
Rejecting Entry
On the home page, in the left navigation pane, click Entry Management.
OR
Click the Entry Management card in the center of the home page.
The Entry Management page is displayed with the My Entries tab open by default.Click the Issue or Approve tab.
A list of entries is displayed.To reject the entry, under the Action column, click the
icon.
The Entry Details pop-up is displayed.Click Reject.
In the confirmation pop-up that is displayed, click Reject again.
Click Ok.
The entry is rejected and its status is updated as Rejected by Host on the Entry Management page, under the Issue or Approve tab.