
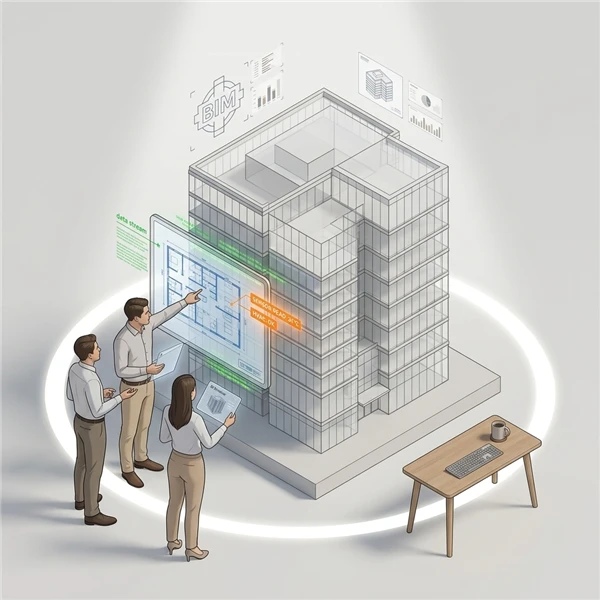
When a BIM model is uploaded, its metadata is automatically segmented and organized under the following tabs:
Managing the Components
The Components tab displays all individual components such as sign boards, sockets, desks, CCTV cameras, display units, and so on that have been onboarded within the 3D model. Each component is listed with its unique ID.
To view or edit the metadata associated with a component:
- In the Main Menu, under the ADMIN OPTIONS, in the Digital Twin subsection, click Digital Twin.
The Digital Twin page is displayed. - Under the Action column, click Model for the corresponding digital twin.
The Model page opens in a new browser tab. - Under the Action column, click the
 icon.
- In the Components tab, under the Action column, click the icon for the component whose metadata is to be viewed or modified.
- Modify the required information.
Field Description Name*
Enter the name of the component.
UID*
Enter the unique identifier of the component.
Property Schema
Select the required property schema.
Family
Select the family grouping this component belongs to.
Type
Select the type of component under a selected family.
Category
Select the category this component belongs to.
Building
Select the building where this component is located.
Floor
Select the floor on which this component is located.
Desk
Select the desk where this component is located.
Room
Select the room where this component is located.
HVAC Zone
Select the HVAC zone in which this component is located.
Lighting Zone
Select the lighting zone in which this component is located.
Area
Select the area in which this component is located.
AHU
Select the AHU corresponding to this component, if applicable.
PAC
Select the PAC corresponding to this component, if applicable.
UPS
Select the UPS corresponding to this component, if applicable.
Breaker
Select the circuit breaker corresponding to this component, if applicable.
Energy Meter
Select the energy meter corresponding to this component, if applicable.
Water Meter
Select the water meter corresponding to this component, if applicable.
Constant
Select the constant corresponding to this component, if applicable.
Variable
Select the variable corresponding to this component, if applicable.
State Required
Select this checkbox to display this component while loading the digital twin only if any related state-based processing is done (otherwise it would be hidden). If this checkbox is not selected, the component would be displayed in the digital twin view by default.
Active
Select this checkbox to make this component active.
- Under Reference, to add the reference component, enter or select the required field information. The components added here would be accessible as shortcuts at the time of viewing the properties of this component in the Digital Twin model.
Field Description Component*
Enter the name of the reference component.
Position
Select the position at which this reference component would be displayed in the digital twin model view.
Label
Select the label for this reference component.
- Click Add Reference.
- Repeat steps 5 and 6 to add more reference components.
- Under Component Property, to add the property associated with this component, enter or select the required field information.
Field Description Section*
Enter or select the section under which the properties and corresponding values will be added. For example, Under a section named Dimensions section, you could add the Property as Height and Value as 30 cm.
Property
Enter or select the metadata label that will be added under the configured section. For example, Height or Make or Model.
Value
Enter the actual data for the defined property. For example, 30 cm, Bluestar, and so on.
- Click Add Property.
- Repeat steps 8 and 9 to add more properties to this component.
- Once all references and properties are added, click Save.
Managing the Category
Each component in the Digital Twin model has a category associated with it. For example, there may be multiple fire exit signages on a floor. All these fire exit sign components could be grouped under one category called Fire Exit Signage.
To edit the metadata associated with a category:
- In the Main Menu, under the ADMIN OPTIONS, in the Digital Twin subsection, click Digital Twin.
The Digital Twin page is displayed. - Under the Action column, click Model for the corresponding digital twin.
The Model page opens in a new browser tab. - Under the Action column, click the icon.
- Click the Category tab.
- Under the Action column, click the icon for the category whose metadata is to be modified.
- Modify the name of the category as required.
- Select or deselect the Active checkbox to make the category active or inactive, as required.
- Click Save.
The category is modified.
Managing the Family
Within each category, you can organize components into sub-categories known as families. For example, under the Office Desks category, you might create families such as cabin desks, cubicle desks, standing desks, and so on.
To edit the metadata associated with a family:
- In the Main Menu, under the ADMIN OPTIONS, in the Digital Twin subsection, click Digital Twin.
The Digital Twin page is displayed. - Under the Action column, click Model for the corresponding digital twin.
The Model page opens in a new browser tab. - Under the Action column, click the icon.
- Click the Family tab.
- Under the Action column, click the icon for the family whose metadata is to be modified.
- Modify the name of the family as required.
- Select or deselect the Active checkbox to make this family active or inactive, as required.
- Under Component Type, enter the type of the component that belongs to this family. For example, a different desk size (Small, Medium) under the family of Desks.
- Select or deselect the Active checkbox to make this family active or inactive, as required.
- Click Add Component Type.
- Repeat steps 7 to 9 to add more component types under this family.
- Click Save.
The family is modified.